The hardships of navigating roads aren’t made any easier when facing a flat tyre. In fact, for many, fixing a flat remains a mystery. Before hitting the road, study up on these flat-tyre-fixing hacks and build up the confidence to complete this road test:
Be spared: Knowing how to change a flat is all for naught if a spare tyre is not along for the ride. Spares are usually hidden under the carpet in the trunk area, but they aren’t always included in newer vehicles (allowing manufacturers to make lighter, more fuel-efficient vehicles). When purchasing a new vehicle, ask the dealer about the inclusion of a spare.
Flatlining signs: It’s fairly easy to spot a flat tyre — it’s usually accompanied by a loud noise or rubber flapping. The vehicle will feel like it is being pulled toward the side of the flat tyre, and it will feel as if the vehicle can no longer accelerate. When in doubt, activate hazard lights and move the vehicle safely out of traffic, ideally on a flat area with enough space on the side of the road. Once in a safe spot, remember to practice high visibility: Wear a reflective vest and position reflective emergency warning triangles to alert motorists — both of these items should be added to your roadside toolkit.
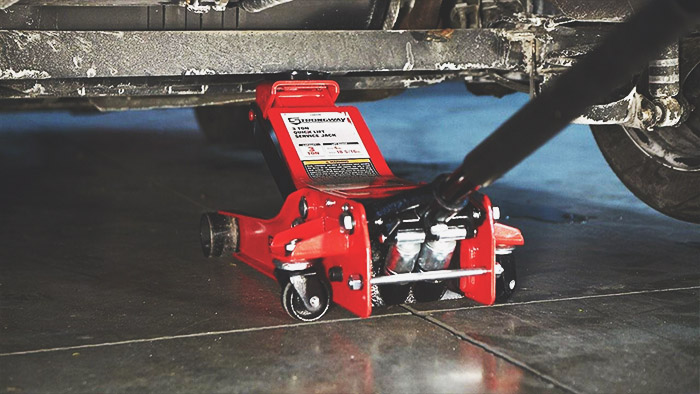
Hit the road, Jack: Having the right tools on board is critical, of course, and that’s where a jack comes in. Remember, the jack is only used to get the vehicle off the ground, not to hold the vehicle in place — that’s where the jack stands come in to ensure a safe and sustained lift. Refer to the owner’s manual for the proper placement of the jack and the stands, which is typically the sturdiest part of the vehicle.
Rider’s block: A common, and dangerous, error when changing a tyre is not using blocks to prevent the wheels from rolling once the vehicle is raised. A tyre-changing tool pack should include bricks or wooden wedges to be placed behind the wheels at the end of the vehicle that isn’t being raised.
Get loose: Once the jack has been cranked up, and the wheel is slightly off the ground, it’s time to remove the hubcap and then call for another key tool, a tyre iron, to loosen the lug nuts and then pull off the flat tyre. Be careful not to strip the lug nuts.
On the road again: With the flat tyre off, line up the spare tyre’s holes with the wheel bolts and push on, hand-screwing the lug nuts back on. Then, lower the jack a touch so the wheel is in slight contact with the ground. Use the tyre iron to further secure the lug nuts in a “star-like” pattern: After tightening the first lug nut, tighten the one that is diagonally across from it and continue in that pattern. This will prevent the wheel from wobbling.
In an age of mobile phones and easy connection to roadside assistance, the knowledge of addressing a flat tyre has gone out the window — or the sunroof. But, motorists should know — and practice — the basics of changing a flat to ensure they are prepared for the dreaded pop.